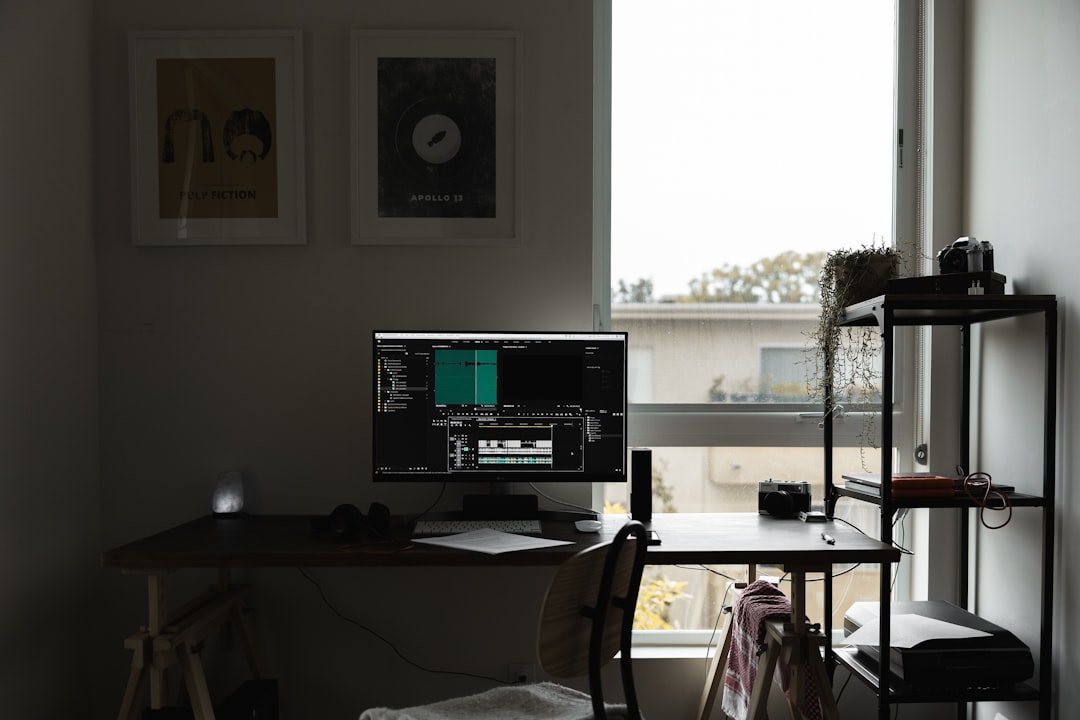
If you’re working on a dynamic video project in Adobe After Effects and want to draw attention to a specific moment, learning how to pause your video can be incredibly useful. Creating a pause can allow for text overlay, narration, or dramatic effect, making your final product more polished and engaging. Fortunately, pausing a video in After Effects is not as complicated as it may seem.
In this guide, we’ll walk you through several techniques to make a video pause using After Effects. Whether you’re a beginner or a seasoned editor looking for a quick reference, each method has its pros and works best depending on your project needs.
Why You Might Want to Pause a Video
There are many creative and practical reasons to pause a video:
- Highlight a key moment or object
- Add commentary or explanation
- Introduce text, graphics, or titles clearly
- Control the pacing of your animation or story
Whatever your reason, pausing a clip allows you to momentarily focus your audience without skipping a beat in design continuity.
Method 1: Using Frame Hold
This is one of the easiest and most direct ways to create a pause in After Effects.
- Right-click your video clip in the timeline.
- Choose Time > Enable Time Remapping.
- Move the timeline head to the frame you want to freeze.
- Right-click again and select Time > Freeze Frame.
This will hold the video on that frame indefinitely. You can then trim the clip to the duration you need, effectively simulating a pause.

Method 2: Export a Still Frame
If you need a high-quality, static image instead of using a video frame through time remapping, exporting a still frame might be the better option.
- Move the playhead to the frame you want to pause at.
- Go to Composition > Save Frame As > File.
- In the Render Queue panel, set your file format (e.g., PNG) and click Render.
- Import the rendered image back into your composition.
- Replace or overlay it on top of the video layer for the desired amount of time.
This allows for more control, especially if you want to enhance the still frame with effects, text, or visual callouts without affecting your original video file.
Method 3: Time Remapping for Custom Pause Durations
For users seeking even more flexibility, time remapping offers the ability to pause, unpause, and even reverse video footage at will.
- Right-click the video and select Time > Enable Time Remapping.
- Create two identical keyframes at the point in time where you want the pause to occur.
- Drag the second keyframe further down the timeline to extend the pause.
Between these two identical keyframes, your video will “freeze” on that frame. This is a powerful way to pause and resume video playback seamlessly within the same clip.

Tips to Make Your Pause Look Professional
Creating a pause is one thing; making it look good is another. Here are some tips for better integration:
- Add a transition: A fade-in or zoom effect can add polish when entering or exiting a paused frame.
- Overlay graphics or text: Use the pause as an opportunity for infographics, quotes, or product callouts.
- Use camera blur / vignette: Guide the focus subtly to the subject by adding slight background effects.
- Sound design: Muting or adding a sting sound effect can reinforce the pause visually and aurally.
Conclusion
Implementing a pause in your video using Adobe After Effects can drastically improve storytelling and pacing. Whether you use a simple freeze-frame, an exported still, or dive into time remapping, each method offers creative control. Experiment with these techniques and see how you can use static moments to bring your videos to life.

