

Upgrading your PC to Windows 11 sounds fun — until you see that scary black screen with the words: “A disk read error occurred. Press Ctrl+Alt+Del to restart.” Panic sets in. Your files! Your settings! Your peace of mind!
Don’t hit the panic button just yet. This guide is here to save your day and your data.
TL;DR (Too Long; Didn’t Read)
If you’re upgrading to Windows 11 and get a disk read error, it’s likely due to bad sectors, faulty hardware, or a boot configuration issue. Don’t worry — it’s fixable. Try unplugging peripherals, fixing the MBR, checking your RAM, or scanning your disk. This guide walks you through the steps in easy language and simple actions.
What Does “A Disk Read Error Occurred” Mean, Anyway?
When you see that message, your PC is telling you: “Hey, I can’t read your hard disk properly.”
This often happens when:
- Your hard drive has bad sectors
- The Master Boot Record (MBR) is messed up
- Your RAM or cables are acting funky
- The BIOS is not booting from the right disk
Let’s walk through fixing it. Step-by-step. No geek-speak. Just sensible, friendly advice.
1. Stay Cool and Reboot
Yes, the first fix is simple. Press Ctrl + Alt + Del like the screen suggests. It might just be a temporary hiccup. If it boots up — mmhmm, lucky you!
If not, let’s move on.
2. Unplug All External Devices
Your printer, USB drive, or even your extra game controller could be interrupting the show.
- Power off your PC.
- Unplug every USB, external drive, and doodad.
- Now power it back on.
Still stuck? Don’t worry — we got more tricks up our sleeve.
3. Check the Boot Order in BIOS
Your BIOS might be trying to boot from the wrong disk.
- Restart your PC and tap the BIOS key (Del, F2, F10, or Esc — it depends on your PC).
- Go to Boot Settings.
- Make sure your main hard drive is listed first.
- Save and exit.
If the boot order was off, this fix might do the trick. If not, keep calm and carry on.
4. Try Safe Mode (If You Can Get There)
Sometimes, starting in Safe Mode helps diagnose the problem.
Here’s how to try it:
- Power on your PC and force shutdown when the Windows logo appears.
- Do this 3 times. On the 4th try, Windows should go into Recovery Mode.
- Click Advanced Options > Startup Settings > Restart.
- Once it restarts, choose Safe Mode using the correct number key.
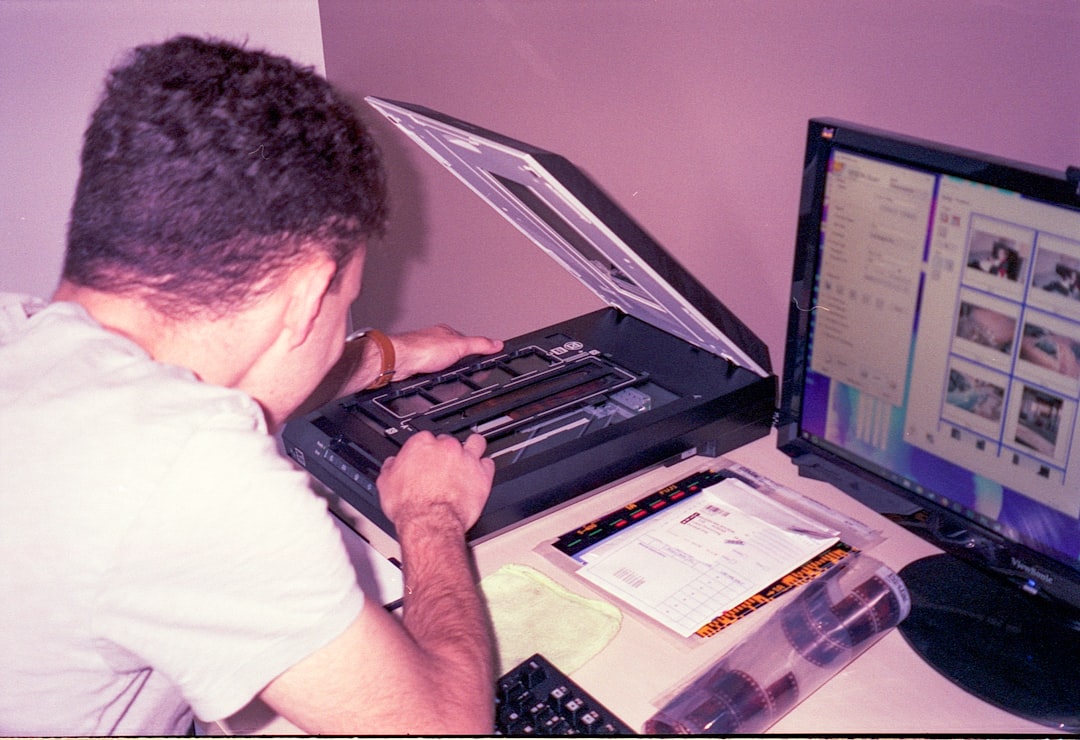
If it boots in Safe Mode? Great! Back up your files now!
5. Repair the MBR (Master Boot Record)
The MBR is like your PC’s map and compass. If it’s broken, the system gets lost.
To fix it:
- Create a Windows 11 Bootable USB from another PC.
- Insert it into your troubled PC and boot from it.
- Select Repair your computer instead of Install.
- Go to Troubleshoot > Advanced options > Command Prompt.
- Type these 3 magical commands:
bootrec /fixmbrbootrec /fixbootbootrec /rebuildbcd
- Press Enter after each.
Once done, exit and restart. Fingers crossed!

6. Run a CHKDSK Scan
If your disk has bad sectors, this tool can help.
- Boot again into the Command Prompt from the repair tools.
- Type this:
chkdsk C: /f /r- Hit Enter.
This will scan and fix disk errors. It can take a while, so grab a coffee!
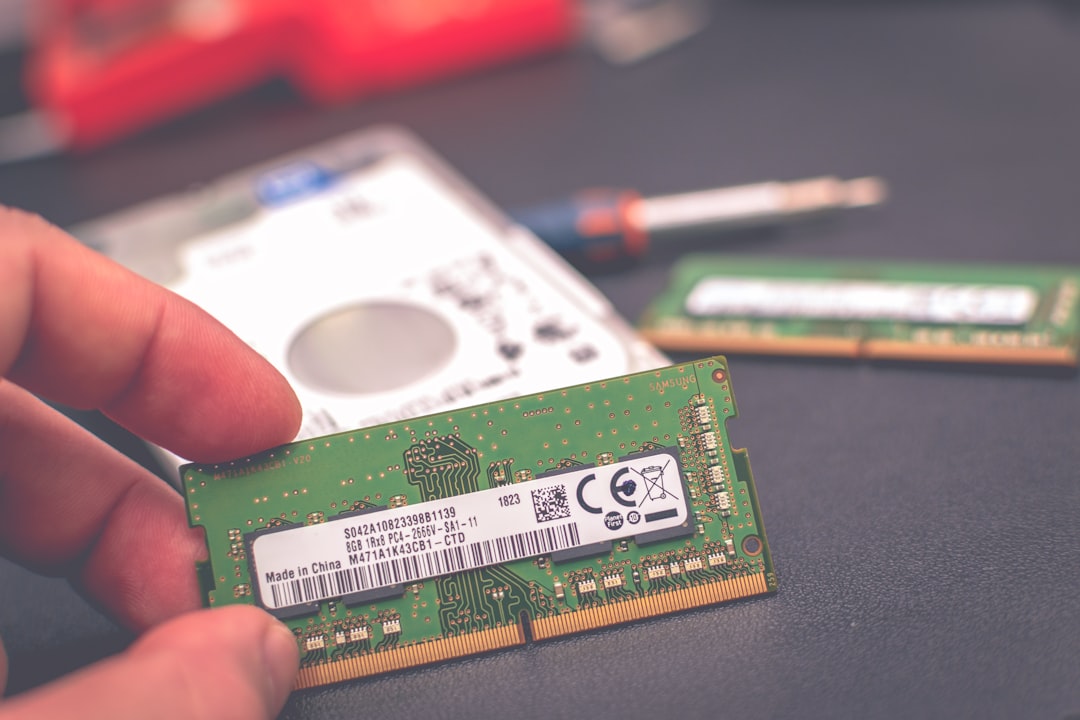
7. Test Your RAM
Your memory sticks might be acting up. It’s rare but not impossible.
- Power off the PC.
- Open the case and remove one RAM stick (if you have more than one).
- Try booting up with one stick at a time.
- Switch and test again.
If your PC boots with one but not the other, you’ve found the bad guy!
8. Restore an Old System Image
If you made a backup before upgrading (good job!), now’s the time to shine.
- Boot from your recovery USB.
- Choose Repair > Troubleshoot > System Image Recovery.
- Follow the steps to restore your backup.
Doing this will bring your computer back to the point when everything was fine.
9. Replace the Hard Drive (Last Resort)
If nothing works even after all the steps above… the hard drive might be toast.
It happens — hard drives don’t live forever. Grab a replacement. Use your recovery image to restore your data, or do a fresh install of Windows 11.
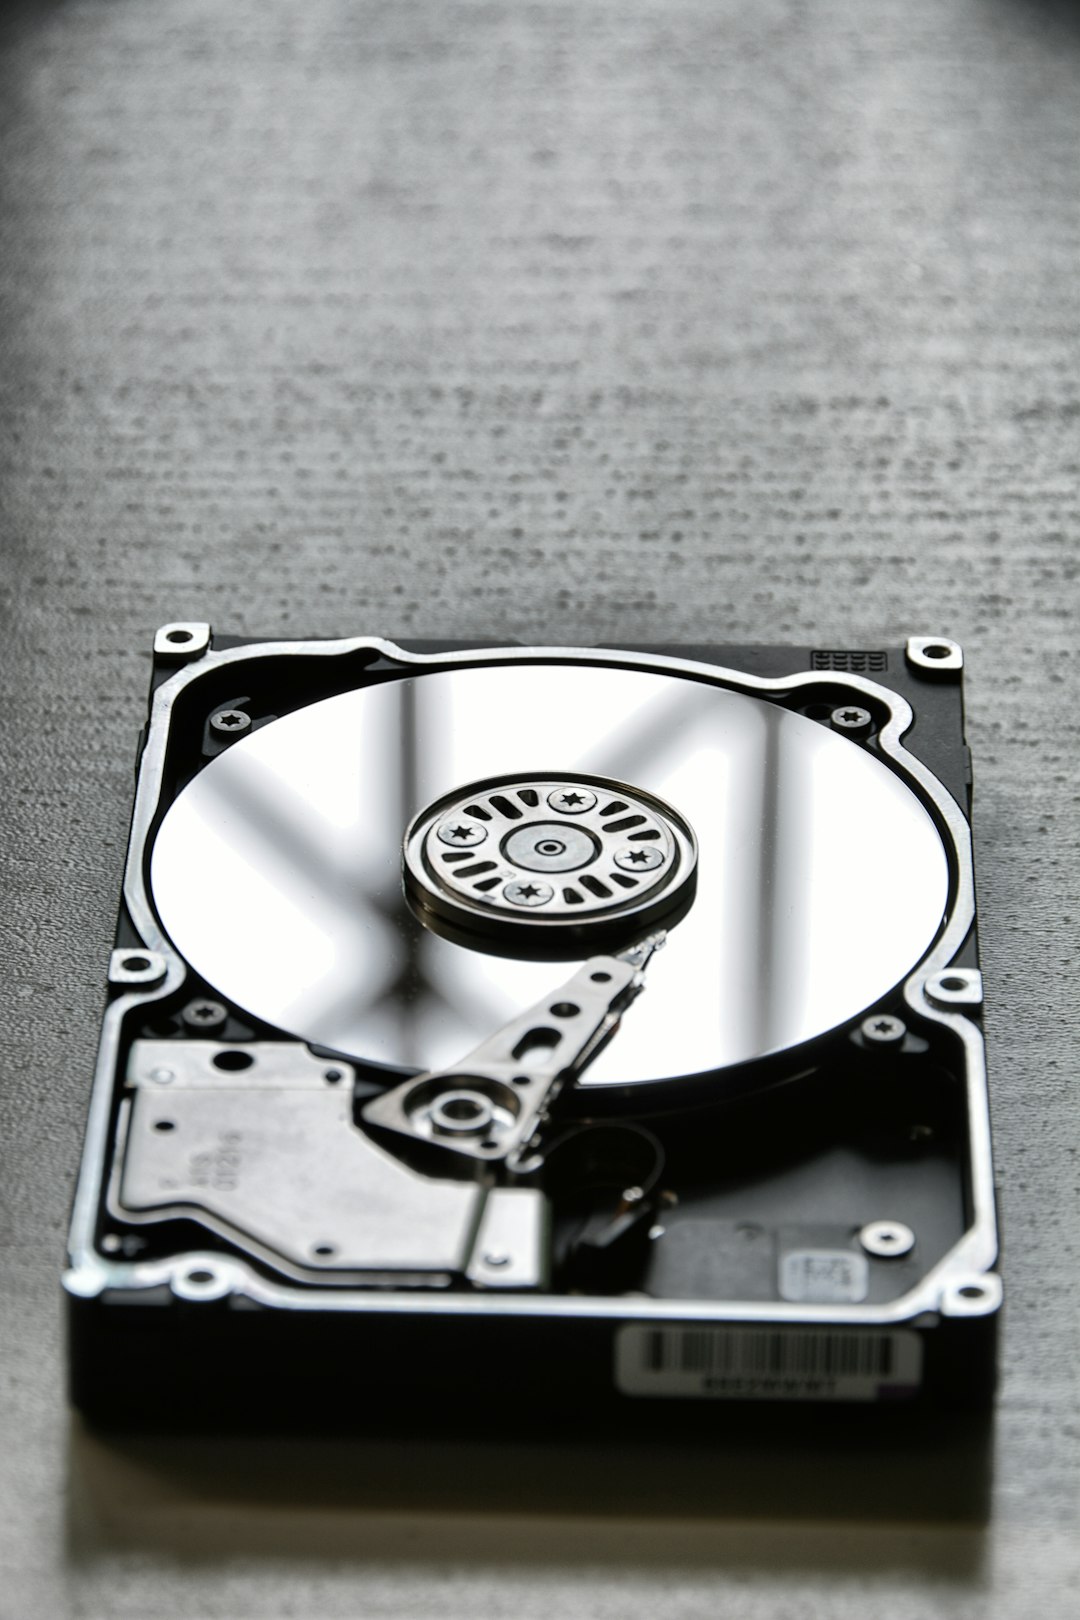
If you’re unsure, take it to a pro for recovery or data extraction first.
Quick Checks for Next Time
To avoid this problem in future upgrades, keep these tips in mind:
- Always back up your system before major upgrades
- Run a CHKDSK and disk health check before installing new OS
- Keep your BIOS updated
- Replace aging hard drives every few years
Wrapping It Up
“A disk read error occurred” may look scary, but it’s not the end of your PC. Follow these steps and you’ll likely fix the issue yourself — without a trip to the repair shop.
Just be patient, follow each method, and soon you’ll be enjoying that sleek new Windows 11 interface. Good luck, tech hero!