

HP laptops are widely recognized for their reliability and performance, but even the most dependable devices can experience display problems. From flickering screens to complete blackouts, these issues can disrupt productivity and cause understandable concern. The good news is that many display problems can be diagnosed and resolved without replacing the entire device. In this guide, we will examine six practical and effective fixes for common HP laptop display issues.
TL;DR: HP laptop display issues are often caused by outdated drivers, incorrect display settings, loose internal connections, graphics card glitches, power configuration problems, or faulty hardware. Start with simple software-based troubleshooting such as updating drivers and adjusting resolution settings. If those steps fail, inspect hardware connections or consult a technician. Addressing the issue methodically can often restore your screen without expensive repairs.
1. Update or Reinstall Graphics Drivers
Outdated or corrupted graphics drivers are one of the most common causes of display problems. Symptoms may include flickering screens, distorted visuals, incorrect resolution, or a completely blank display.
Why this works: Graphics drivers act as the communication bridge between your operating system and display hardware. If the driver is malfunctioning, the screen output may not function properly.
Steps to fix:
- Press Windows + X and select Device Manager.
- Expand Display Adapters.
- Right-click your graphics device and select Update Driver.
- Choose Search automatically for updated driver software.
If updating does not solve the issue, consider uninstalling the driver and restarting the laptop. Windows will typically reinstall a compatible driver automatically.
2. Adjust Display Resolution and Refresh Rate
Incorrect resolution or refresh rate settings can result in blurry visuals, stretched images, or screen flickering. This problem often appears after system updates or when connecting to an external monitor.
How to check your settings:
- Right-click on the desktop and select Display Settings.
- Scroll to Display Resolution and ensure it matches the recommended setting.
- Click Advanced Display Settings.
- Verify that the refresh rate matches your screen’s specifications.
Using a resolution that does not match your display panel can create visual inconsistencies. It is best practice to always use the system-recommended configuration.
3. Perform a Hard Reset
Temporary power glitches can interfere with display functionality. A hard reset clears residual electrical charge and resets hardware components.
Steps to perform a hard reset:
- Turn off the laptop completely.
- Disconnect the power adapter.
- If removable, take out the battery.
- Press and hold the power button for 15–20 seconds.
- Reconnect power and restart the laptop.
This method often resolves black screens or displays that fail to turn on after sleep mode.
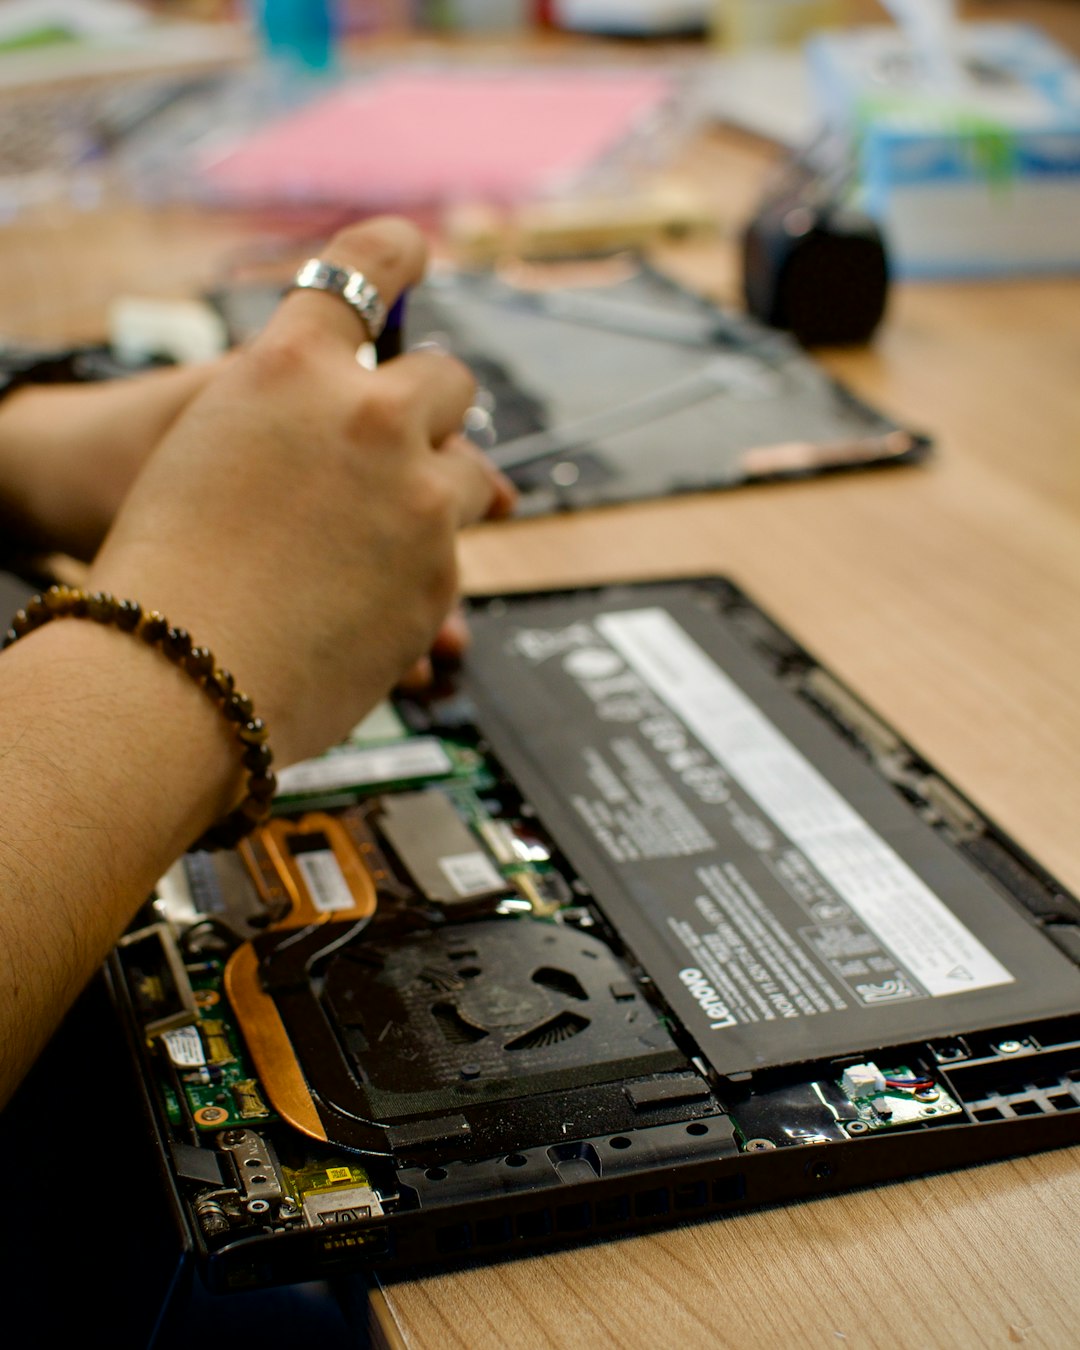
4. Check for Loose or Damaged Display Connections
If your screen flickers when adjusting the angle or shows lines intermittently, there may be a loose internal display cable. This connection runs between the motherboard and the screen panel through the laptop hinge.
Warning: Opening your laptop may void the warranty. If your device is still covered, contact HP support before attempting internal repairs.
Common signs of connection issues:
- Screen works at certain angles only
- Random vertical or horizontal lines
- Image cutting in and out
If you are experienced with laptop hardware, you can reseat the display connector. Otherwise, professional repair is recommended.
5. Test with an External Monitor
Connecting your HP laptop to an external monitor can help determine whether the problem lies with the screen panel or the graphics system.
How to test:
- Connect an external monitor using HDMI or DisplayPort.
- Press Windows + P and select Duplicate or Second screen only.
Interpret results:
- If the external monitor works perfectly, the issue is likely with your laptop screen.
- If the external display also shows problems, the graphics card or driver may be responsible.
This simple diagnostic step can prevent unnecessary screen replacement.
6. Disable Fast Startup or Perform System Recovery
Windows Fast Startup can sometimes cause black screen issues during boot. Disabling it may restore normal functionality.
Disable Fast Startup:
- Open Control Panel.
- Select Power Options.
- Click Choose what the power buttons do.
- Uncheck Turn on fast startup.
If display problems persist after software troubleshooting, consider a System Restore to revert your system to an earlier state when the display worked correctly.
Comparison Chart of Diagnostic Fixes
| Fix | Difficulty Level | Time Required | Best For |
|---|---|---|---|
| Update Graphics Drivers | Easy | 5–10 minutes | Flickering, distorted visuals |
| Adjust Resolution | Easy | 2–5 minutes | Blurry or stretched screen |
| Hard Reset | Easy | 5 minutes | Black screen, boot issues |
| Check Internal Connections | Advanced | 30–60 minutes | Intermittent display problems |
| External Monitor Test | Easy | 5 minutes | Identifying hardware failure |
| Disable Fast Startup | Moderate | 10 minutes | Boot related black screen |
When to Seek Professional Repair
While many display issues can be resolved through troubleshooting, certain symptoms indicate hardware failure:
- Cracked or visibly damaged screen
- Persistent colored lines that do not change
- No display despite successful external monitor test
- Burn marks or overheating near the graphics chip
In these cases, replacing the LCD panel or repairing the motherboard may be necessary. If your HP laptop is still under warranty, contacting authorized service support is strongly recommended.
Preventing Future Display Problems
Prevention is just as important as troubleshooting. Consider these proactive measures:
- Keep graphics drivers regularly updated.
- Avoid closing the laptop lid with objects on the keyboard.
- Use a protective sleeve during transport.
- Prevent overheating by ensuring proper ventilation.
- Shut down properly instead of forcing power-offs.
Taking care of your device minimizes stress on the screen panel and internal components.
Final Thoughts
Display issues on an HP laptop can range from minor software glitches to significant hardware failures. By following a structured troubleshooting process—starting with drivers and display settings, then progressing to hardware diagnostics—you can identify the root cause efficiently. Many problems are simpler than they appear and can be resolved in minutes. However, when physical damage or component failure is involved, professional repair ensures safe and lasting results.
A methodical, calm approach will save both time and unnecessary expense. Most importantly, addressing issues early prevents further damage and keeps your HP laptop operating at its full potential.